Making High Quality Time-Lapse Videos Using Raspberry Pi
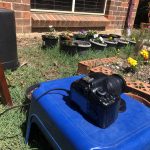
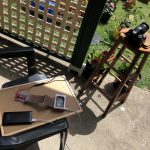
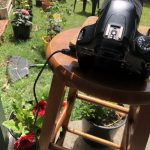
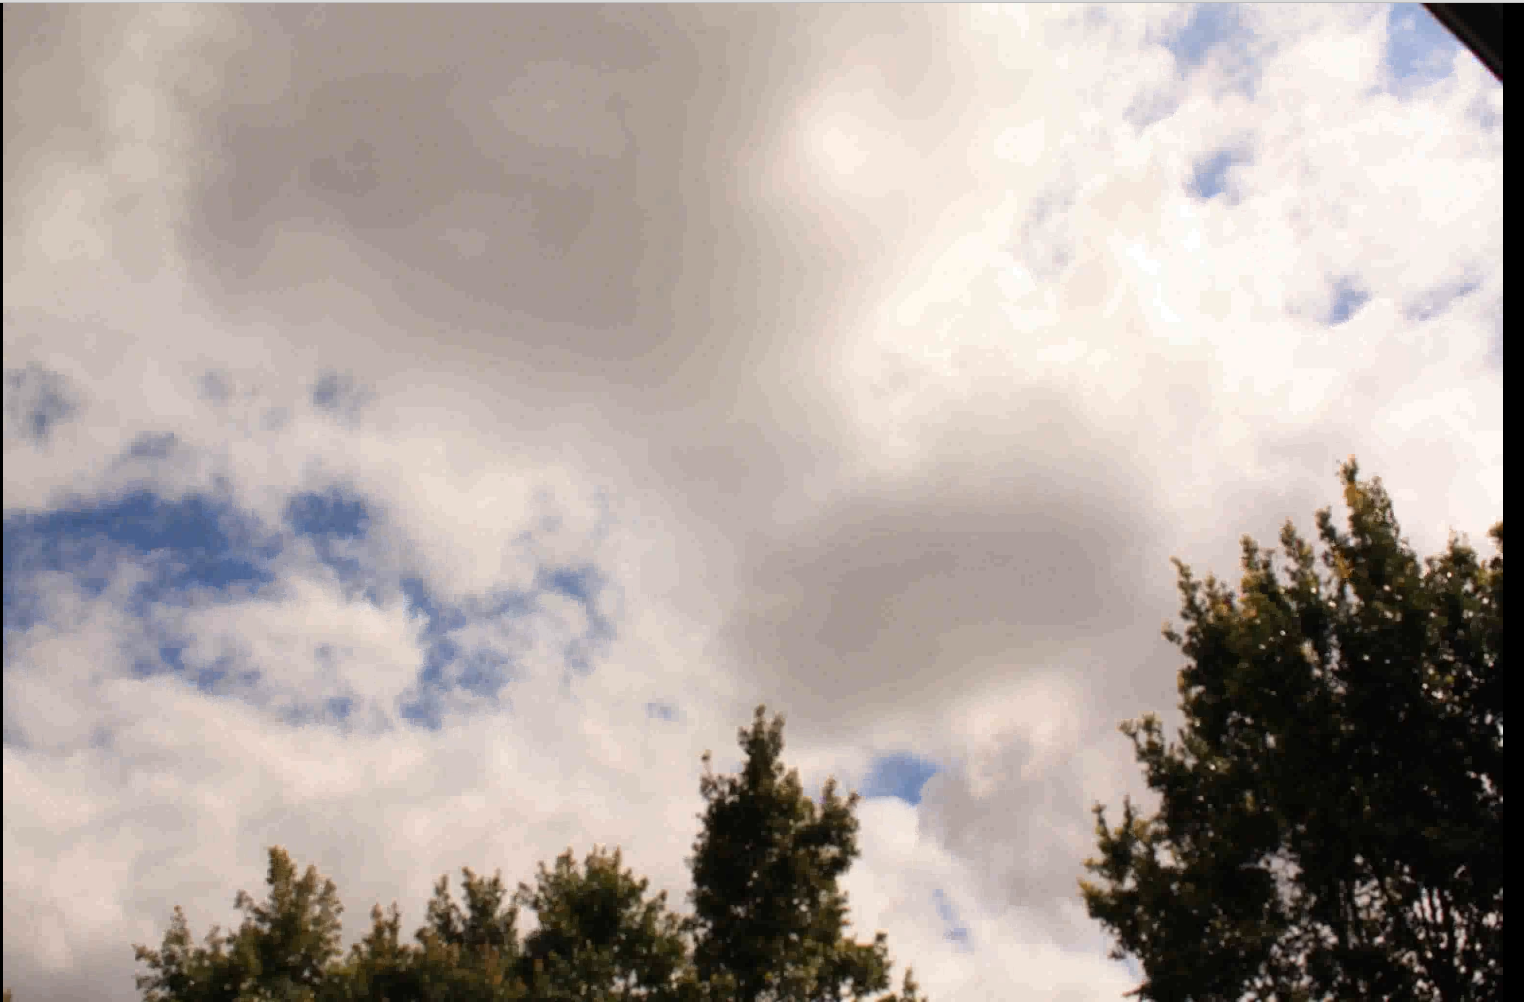
This video is part of the Raspberry Pi series, where I walk you through several projects ranging in difficulty from fairly simple to really complex. In this video we are going to repurpose an old DSLR camera and hook it up with our Pi to take fascinating time-lapse videos of our own. The camera I am using is a Canon DSLR and has a 3.5mm Audio cable trigger.
My GitHub repo for the TimeLapse.py program https://github.com/rajeshvalluri/TimeLapse.git
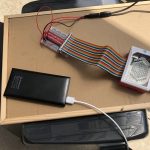
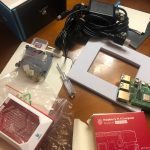
Components used in the tutorial
Raspberry Pi — https://amzn.to/2XNjlfI
Breadboard — https://amzn.to/3jGA9wW
Male/Female 3.5mm Audio Adaptor https://amzn.to/3EmGTaZ
3.5mm to 2.5mm Male to Male connecting cable (Audio cable) https://amzn.to/3GsBn8r
Battery Pack — https://amzn.to/3BkSwNF
GPIO breakout unit — https://amzn.to/31bmxDv
DSLR Camera is assumed to be already owned.
Process in a “Snapshot” ( you see what I did there…I am sorry)
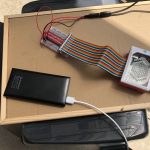
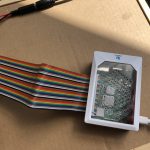
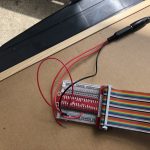
1) Prepare the trigger cable to work with the Pi
2) Set your camera in the right settings and manual focus. Focus on the right area, and make sure the shutter triggers when you press the button.
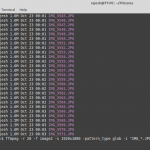
3) Program your pi to trigger the camera at set intervals and for a set number of times
4) Run the program and collect pictures
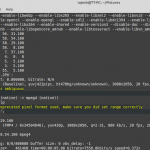
5) Use ffmpeg to stitch the photos together
1 Response
[…] If you are interested in learning more about programming and raspberry Pi, and how these videos area made, check out this link. Making High Quality Time-Lapse Videos Using Raspberry Pi […]