Oracle Data Relationship Sample Application
With the latest installment of Oracle Data Relationship manager released (version 11.2.1.0) many of you may be looking to trying it out. Luckily the installation process is fairly straightforward. This post, however, is not about installation, but creating a sample application. Oracle have released a pretty full-on sample application called COAMGMT ( Chart of Accounts management) many years ago, and luckily its still available and works with this version of DRM.
I have written a blog post a few years ago, detailing how to setup this sample application. However, I was using Oracle database hosted on a Linux server back then, and the process is slightly different if you are using Oracle 12c, and on a windows flavor. For some reason, the impdp command ( or client) that came with 12c was not working with the database, although they were shipped together. In stead of debugging that error, I kind of worked around it using SQL developer. The process is still very straightforward and consists of the following steps.
1) Download the COAMGMT dump file from Oracle’s website here. ( Its free and open to everyone, no CR required)
2) Locate the import/export folder on your oracle instance, and drop the dump file in there.
3) Create two tablespaces, namely DRM_DATA and DRM_INDEX with associated data files which can grow in size. (See code in the detailed steps to follow)
4) Once the “user” COAMGMT is created on the database, attach it to the DRM server. ( Again, assuming you have installed the DRM server already)
5) Apply updates to the application ( Given the distribution from Oracle was created in a version of DRM which was five years old.) Skipping this step will corrupt the database and the application won’t work. You will be forced to start over.
6) Login to the front end, and check out the application which is named “Vision”.
Now here are the detailed instructions.
Download the database dump:
The first step assumes you have downloaded the dump from Oracle’s portal.
After downloading and saving it locally, we need to move it to the impdp folder. To know the folder location, we can use SQL developer. Fire up SQL developer and execute the following query.
SELECT directory_name, directory_path FROM dba_directories WHERE directory_name=’DATA_PUMP_DIR’;
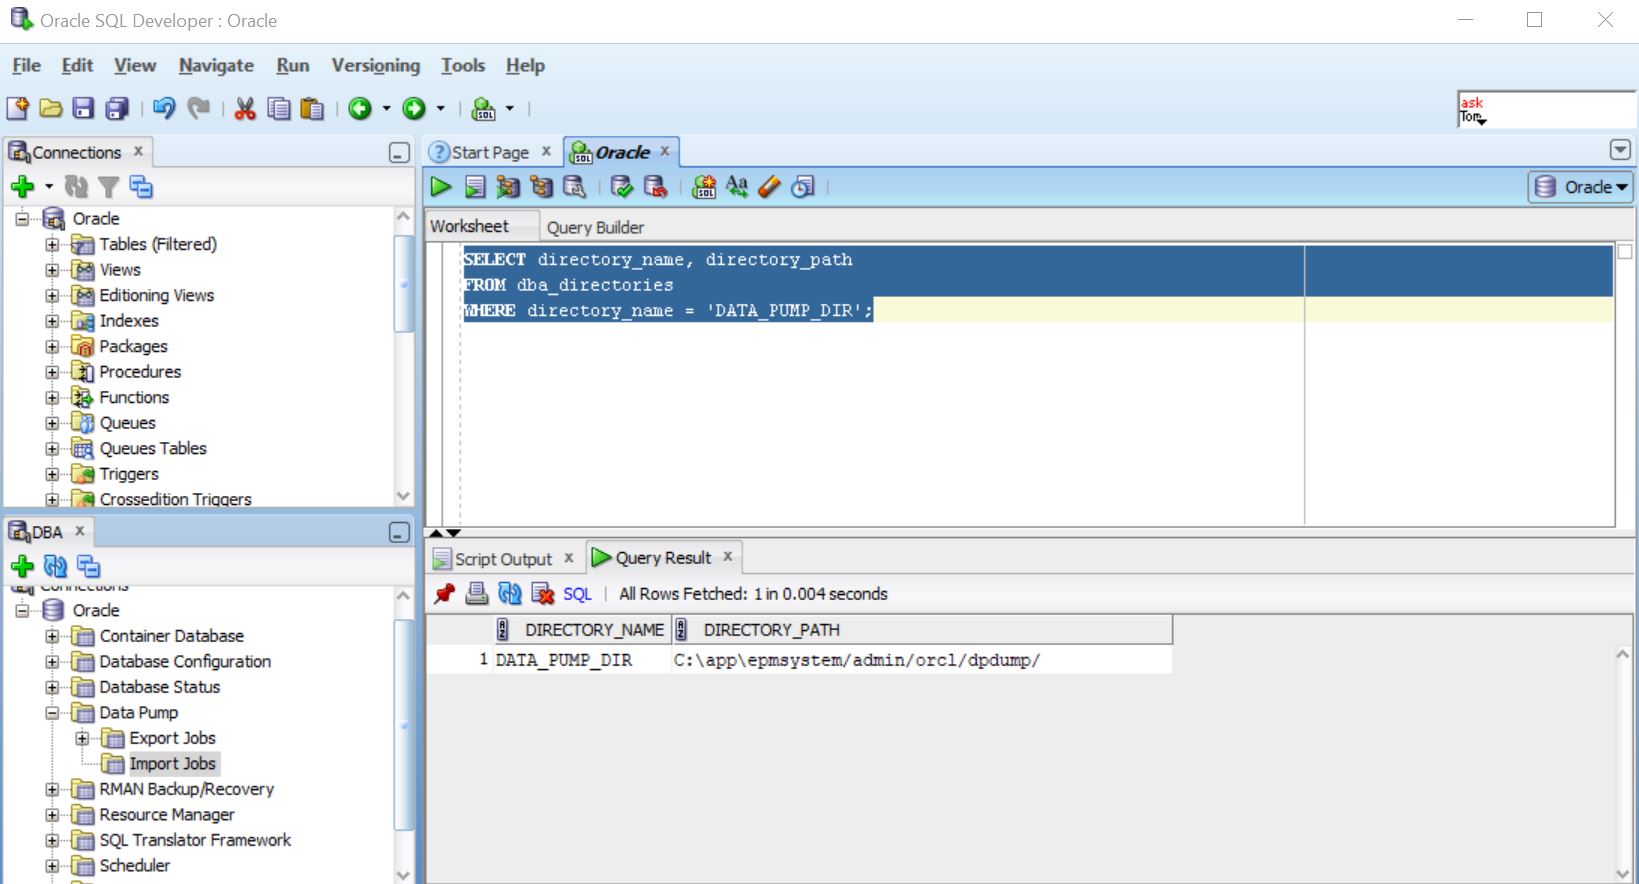
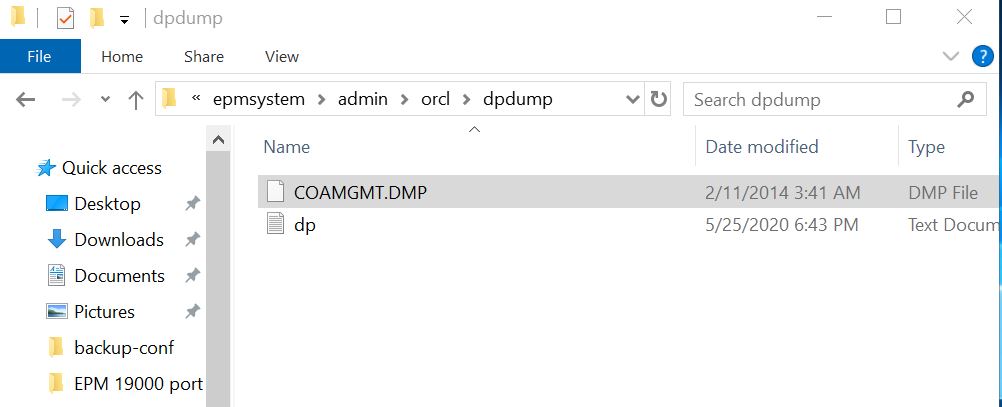
You can see the results in the bottom panel. Now move the COAMGMT.dmp file into this folder.
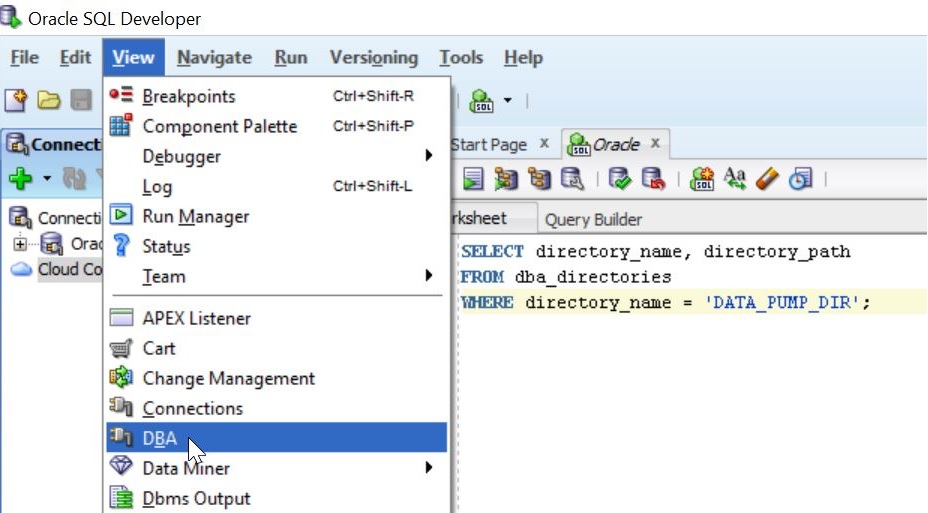
By the way, we can not run the import operation as sysdba, so, your connection to the Oracle database should not be “sys”. I used “system” and the “default” role. Once we have connected to the database, we need to add “dba” view, so that we can perform the import operation. See below.
Creating Tablespaces:
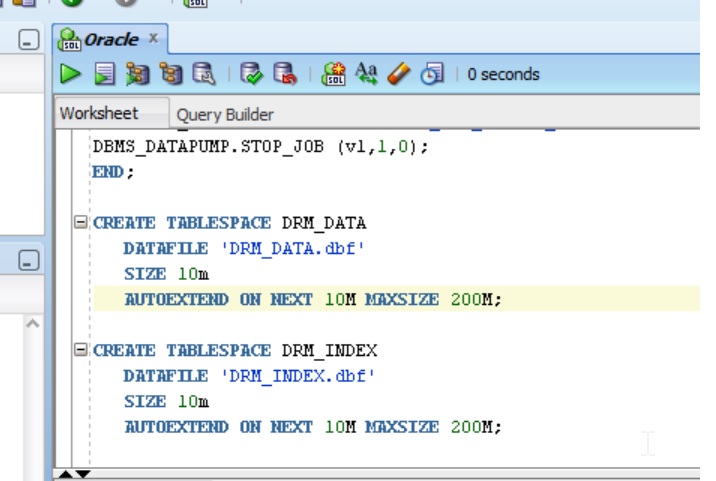
For the import operation to succeed, we need to create two tablespaces, and their associated data files. Run the following code in SQL developer to achieve this.
CREATE TABLESPACE DRM_DATA DATAFILE ‘DRM_DATA.dbf’ size 10m AUTOEXTEND ON NEXT 10M MAXSIZE 200M;
CREATE TABLESPACE DRM_INDEX DATAFILE ‘DRM_INDEX.dbf’ size 10m AUTOEXTEND ON NEXT 10M MAXSIZE 200M;
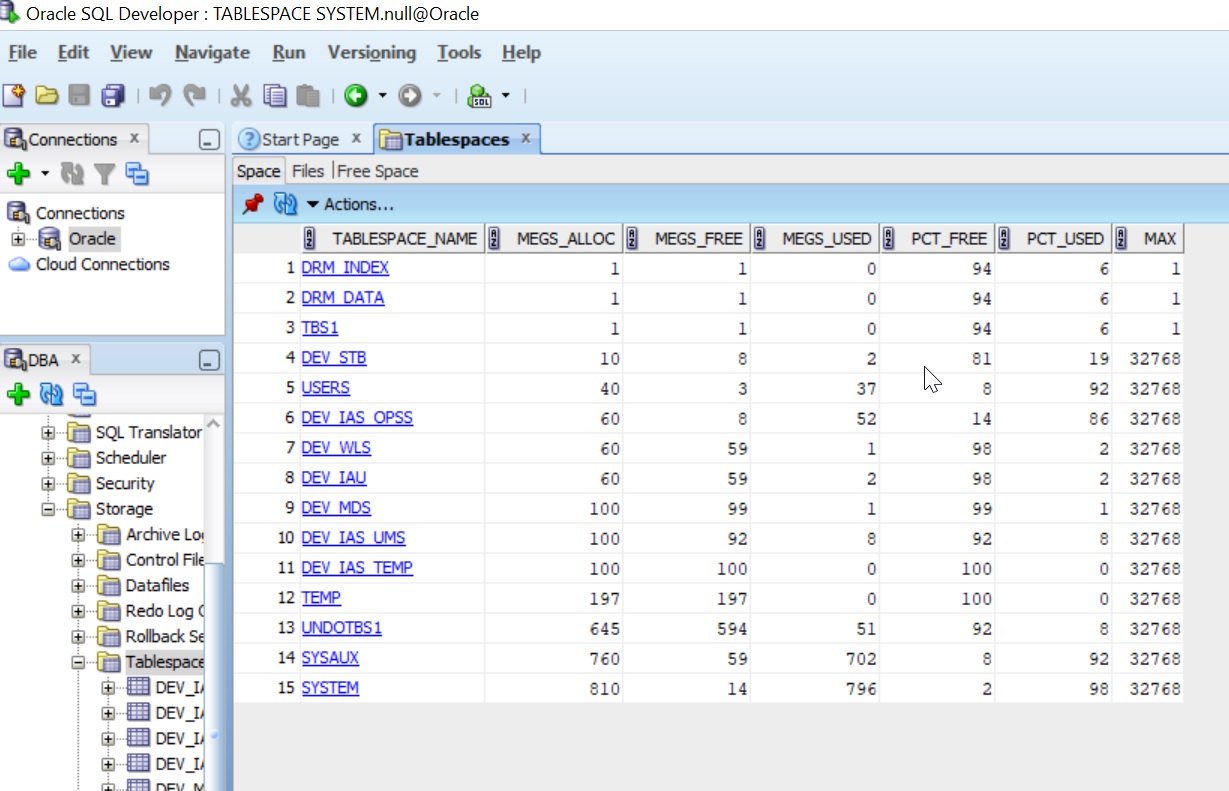
After successfully executing the code above ( remember to hit that commit button too), you should be able to see the tablespaces, similar to the image below.
Import Jobs:
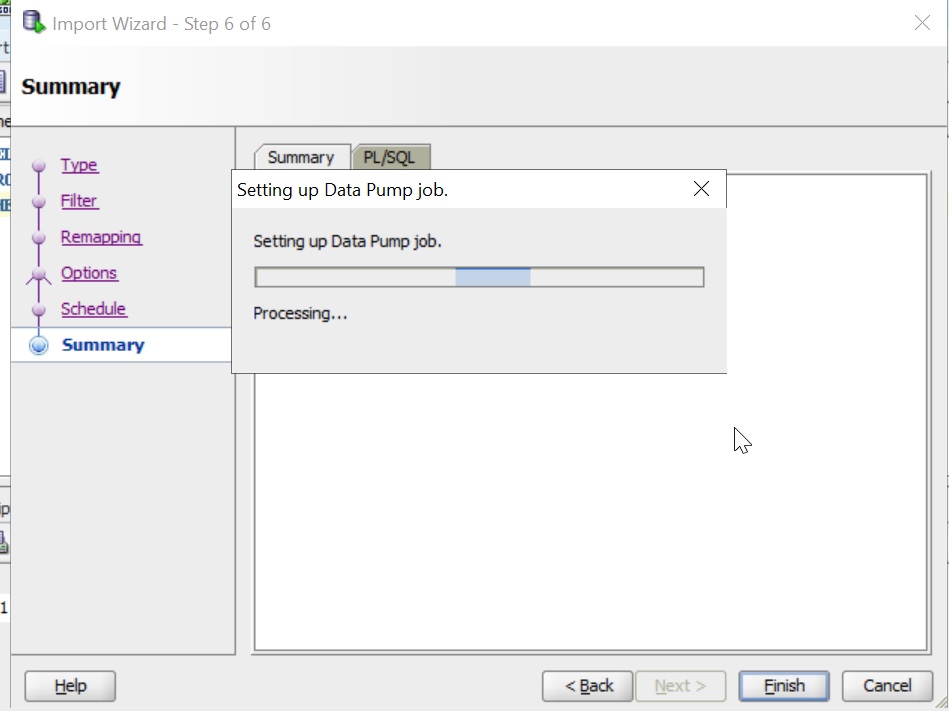
Once the tablespaces are created successfully, its time to import the dump file into the database. Right click on the “import jobs” icon, to fire up the import process. The main thing to remember here is to change the file name to COAMGMT.DMP ( folder need not change as we have moved the file to the folder already). Also, remember to select the “Full” radio button.

Follow the wizard with minimum changes to default options. The screenshots below are for guidance only, its mostly self-explanatory.
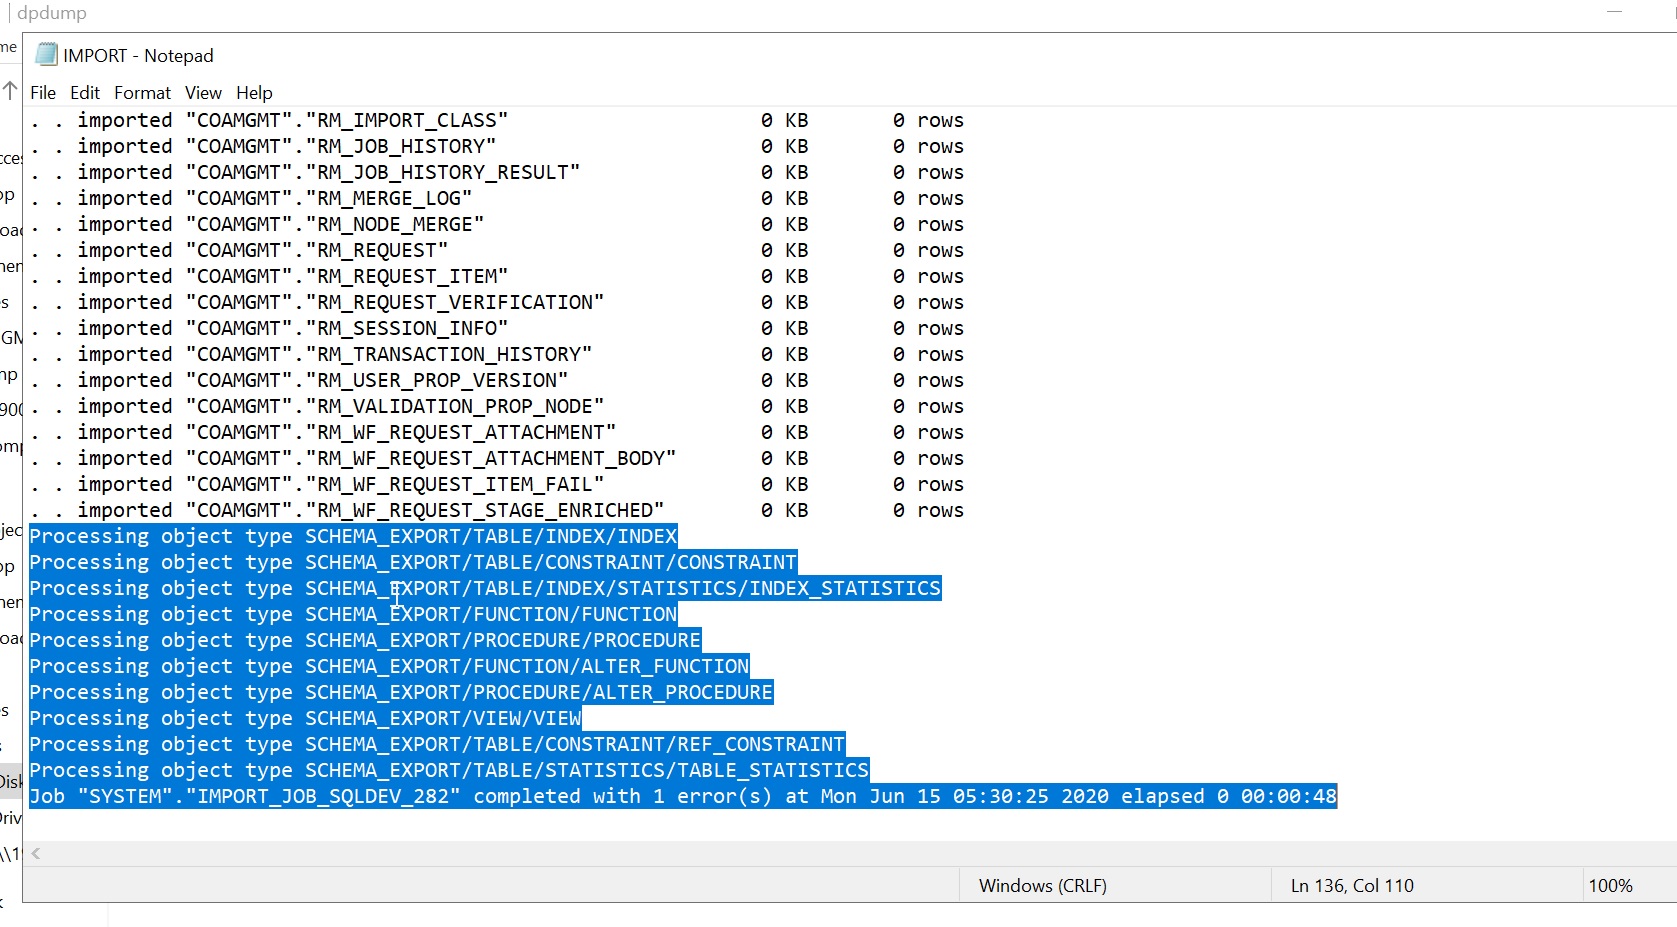
After the process is finished, you may wanna check the import log, which shows a listing of everything that was created and imported.
Setting up the Application:
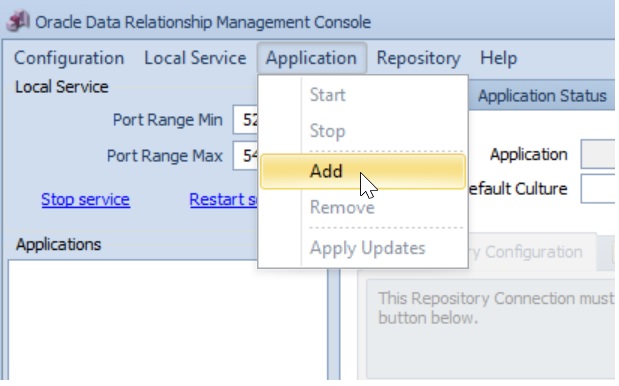
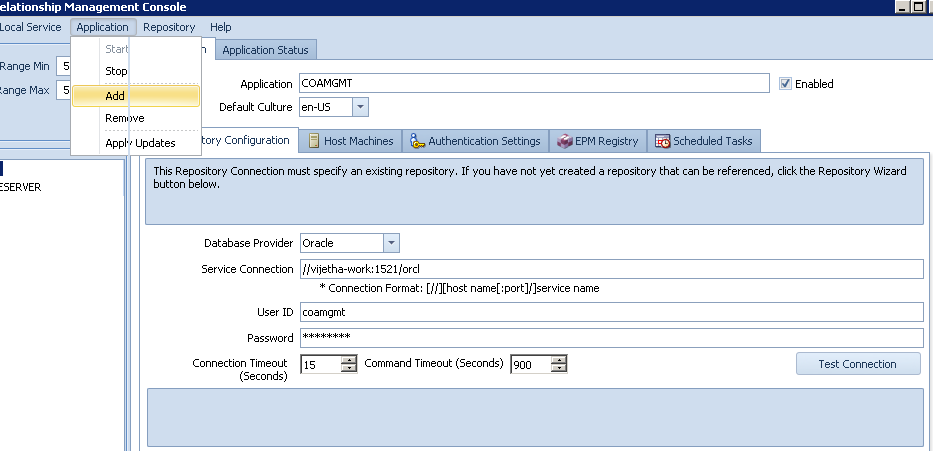
Once the above steps were successfully completed, you should be able to connect to the user “COAMGMT” using SQL Developer. The username is “COAMGMT” and the password is “Welcome!”. Now, start the configuration console on the machine where DRM is installed. Select “Add” from the Application menu to create the application. In this instance, we are just attaching the database user created above and giving it a name. ( So, the process is different from creating an empty application shell from scratch).
Fill in the details, like the name of your choice for the application, and the connection details for the database user as shown below. I chose to use COAMGMT for simplicity and readability.
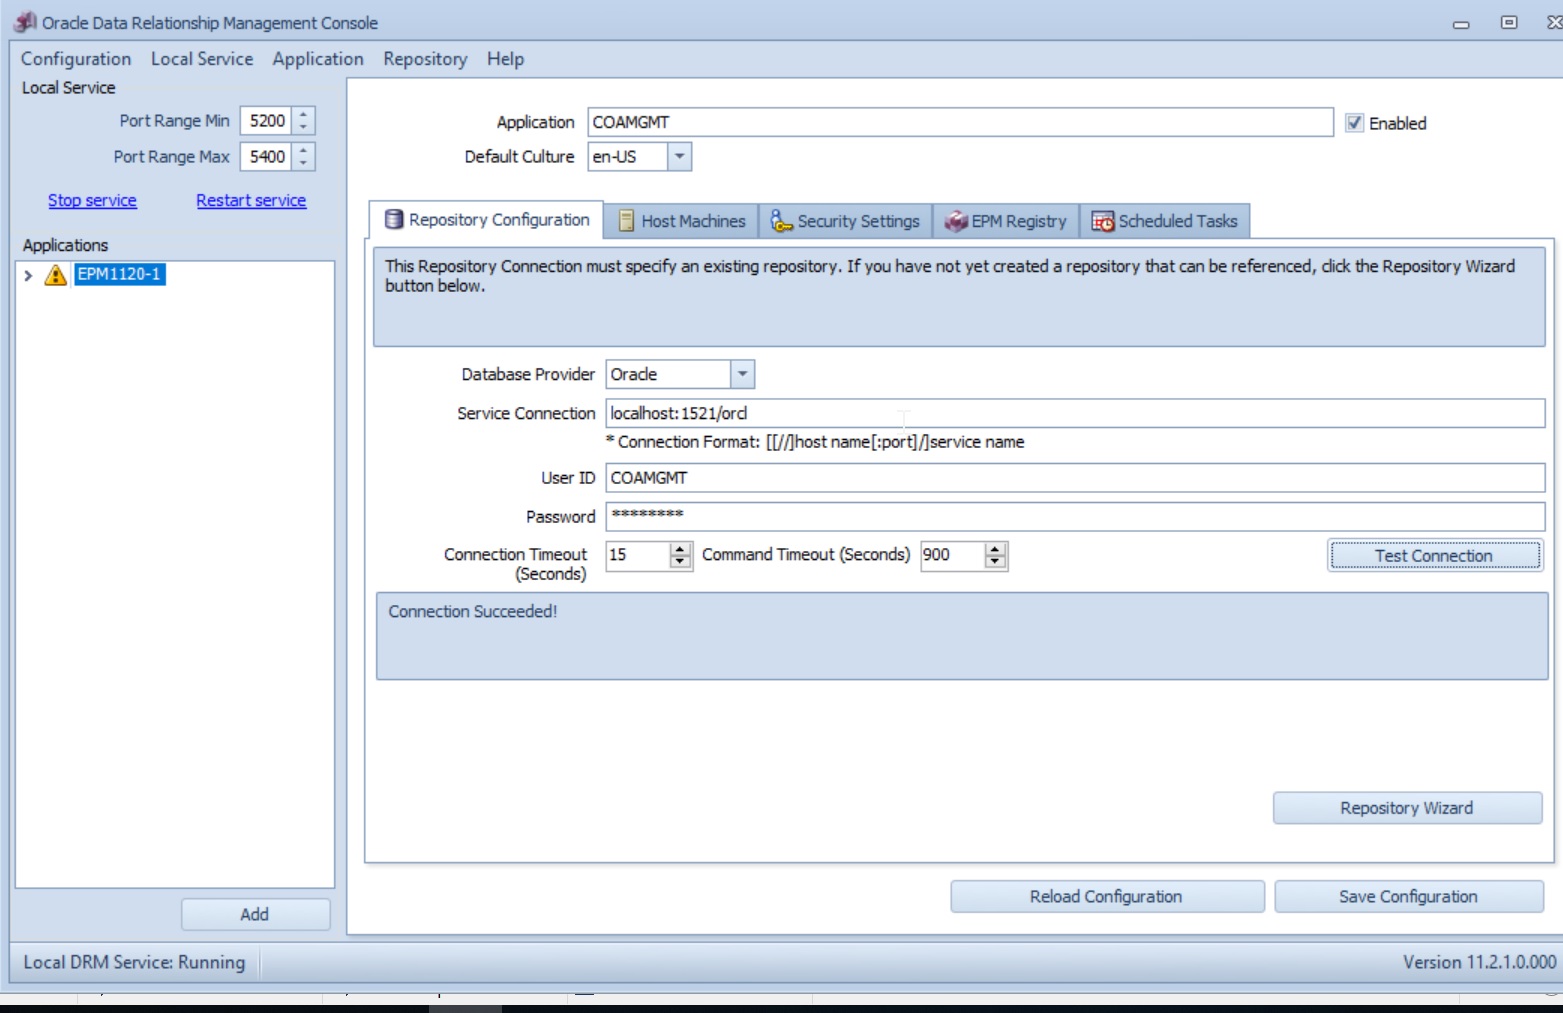
To get the application working, we do not need to fill in other details like “Host Machines”, “Security Settings” etc. Those are advanced settings we can fill at a later time. We can manage to get the application running by just filling in the database details. After filling in the details, test the connection to make sure everything is working, and save the configuration.
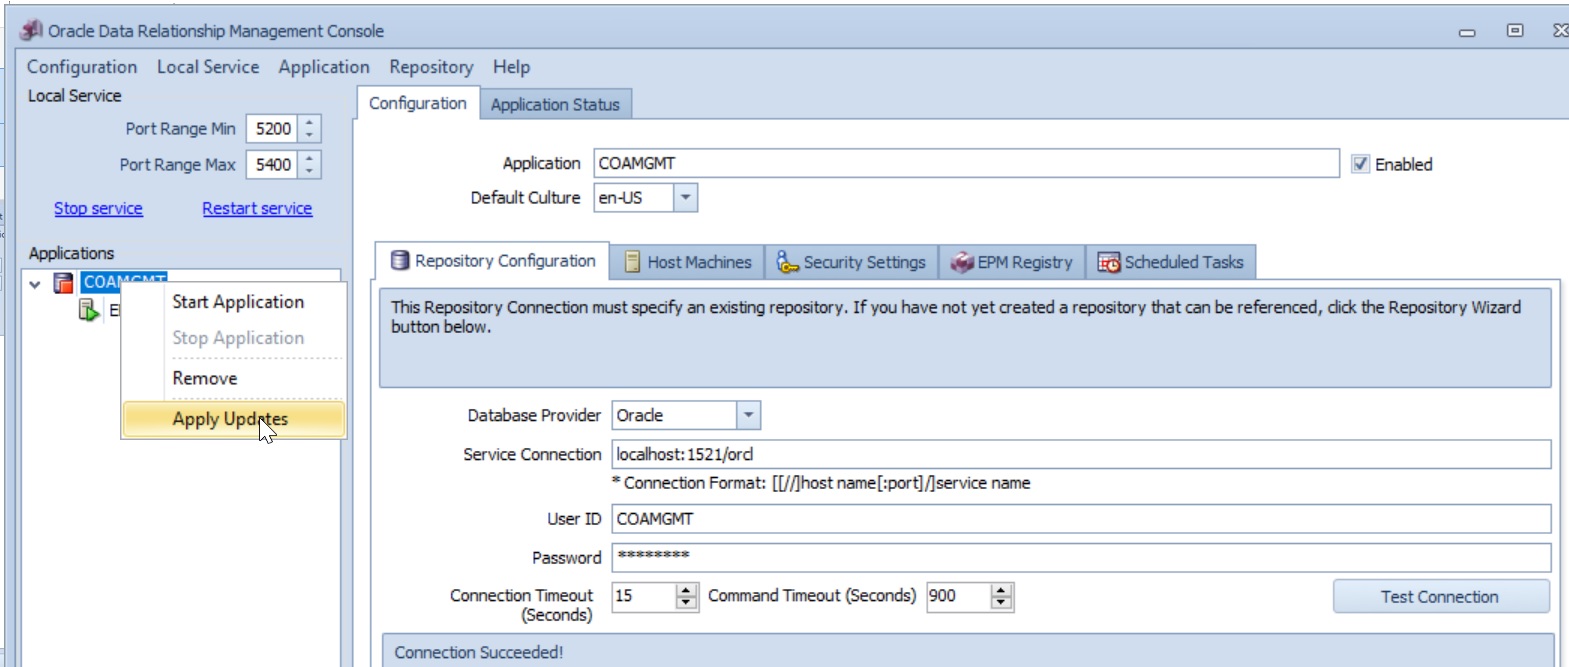
This next step is very important, and if you forget, you may risk corrupting data and may have to start over. So, be sure to pay attention before you start the application. Right click on the application in the left hand panel, and click on “Apply updates”. This will kick off a bunch of SQL scripts in the back to add, remove and modify certain tables, views and other objects to make the data compatible with the current version of DRM. Props to Oracle for making sure it works, because, like I said, the original data was meant for a five year old version.
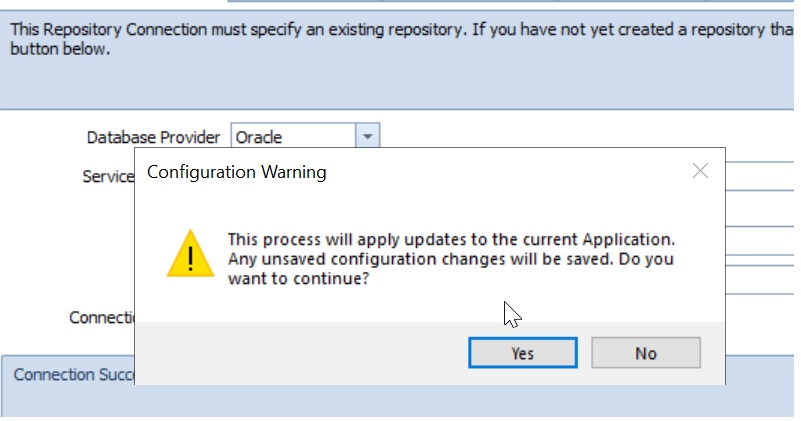
Click “Yes” in the next step to confirm you want to update the application.
This step may take a little while, and you can see the various queries running in a command line. Wait till it finishes, do not interrupt the process. Once its completed successfully, we are ready to start our application. Right click, and select “Start Application”
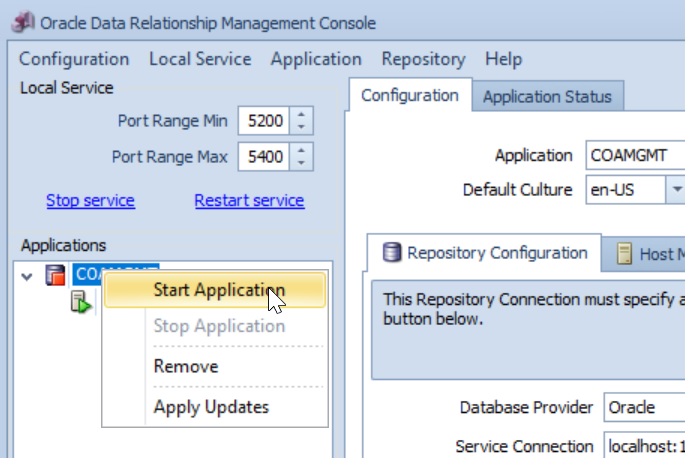
Wait for the icon to turn green, and then fire up your browser and type in the following URL.
http://localhost/drm-web-client/logon.jspx.
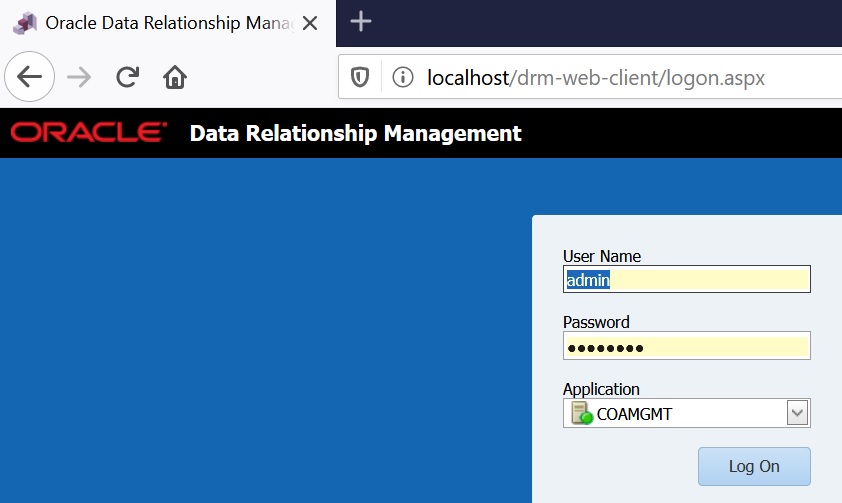
The login is admin/Welcome!
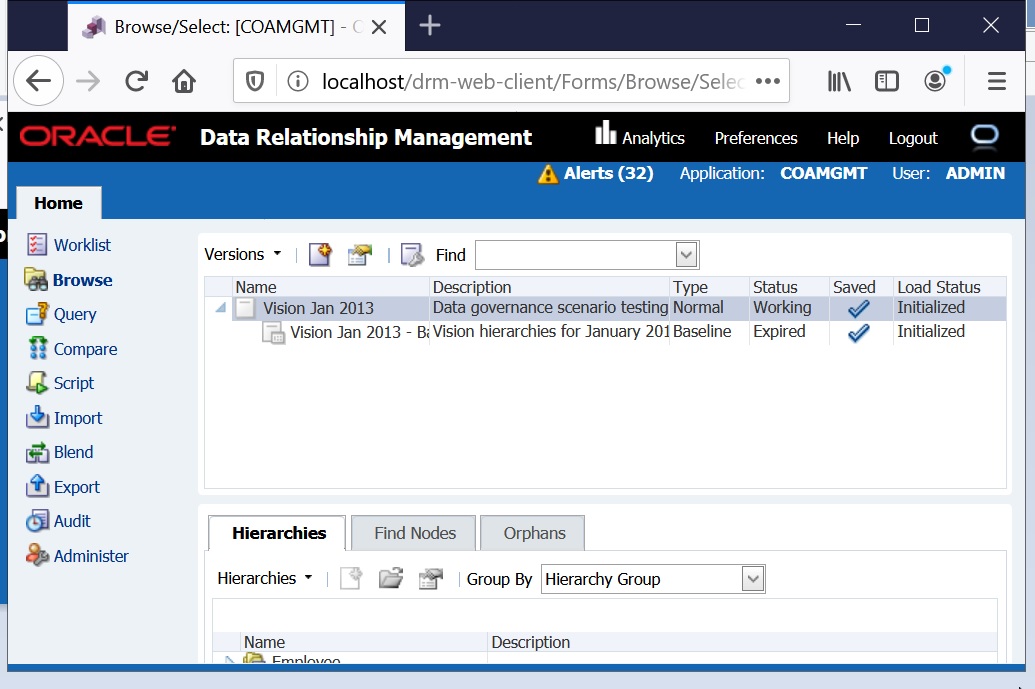
Once you login, you should see the beautiful “vision” application as below. Have a look around, try a few things and see for yourself if you can find any new features or bug fixes.
Hopefully, this post is helpful to you. Please send me your feedback and comments. I can be reached at my LinkedIn profile.
Rajesh Valluri is the author of this post.


Recent Comments