Setting up DRM Sample application provided by Oracle
I get emails from many a people interested in either learning Oracle Data Relationship Management, or practice with a sample application. Unfortunately, there is no “sample” DRM application that ships with the product, like it does with other Hyperion products like Essbase, and Hyperion Planning. This has been a considerable problem for newcomers to the DRM space where they are forced to learn on the job, or by creating an entire application from scratch. Thanks to a training initiative from Oracle, there is now a better option. Oracle provides a “real-life” like application that comes with most of the objects we need to start learning DRM. Although the instructions are pretty straight-forward, I thought it would be nice to explain the steps a little bit, and also make you aware of a few quirks that need to be ironed out. So, please follow the instructions below to setup your own DRM application.
 This tutorial assumes that you have a DRM instance available, and also access to a relational database, preferably Oracle.
First of all, you need to get the files from oracle, which will be extracted and loaded into the relational store.
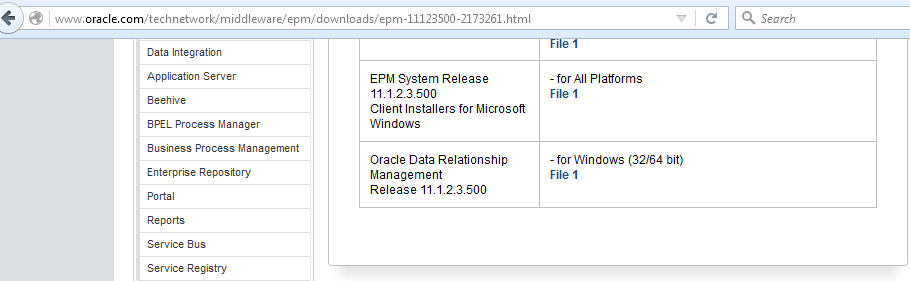
Download the zip file from Oracles website here. Also, download the text file with instructions on setting it up here. Once you download the two files, unzip the .7z file into your local folder, which will give you the COAMGMT.DMP file.
Once you get the DMP file, you need to copy it across to the machine running your Oracle Database. Essentially we are making this file avaialble to the datapump utility so it can be loaded into our database. The file should be copied on to the data_pump_directory specified in your oracle installation. If you don’t know this location, simply run the follow SQL query on sqlplus or sqldeveloper.
SELECT directory_name, directory_path FROM dba_directories WHERE directory_name=’DATA_PUMP_DIR’;
 Once you get the location, just copy or move the COAMGM.DMP file to that location.
After copying the file there, run the following command to load data from that dump file into the database.
impdp uname/password DIRECTORY=data_pump_dir DUMPFILE=COAMGMT.DMP LOGFILE=COAMGMT.LOG
where uname/password are the login credentials for a user with dba privileges. Successful execution of the command above means you now have a “user” named COAMGMT and it contains all the necessary objects for our sample DRM application.

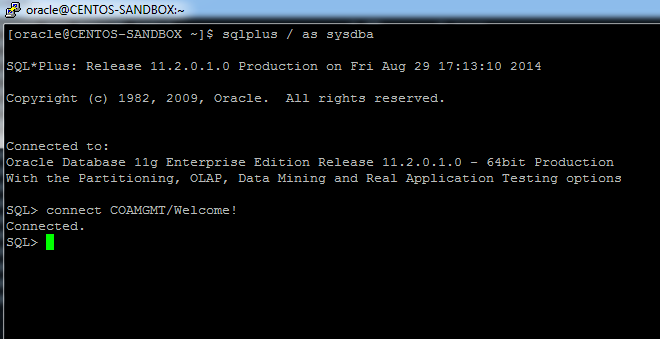
Verify that the schema has been succesfully created by running the command below on sqlplus.
connect COAMGMT/Welcome!
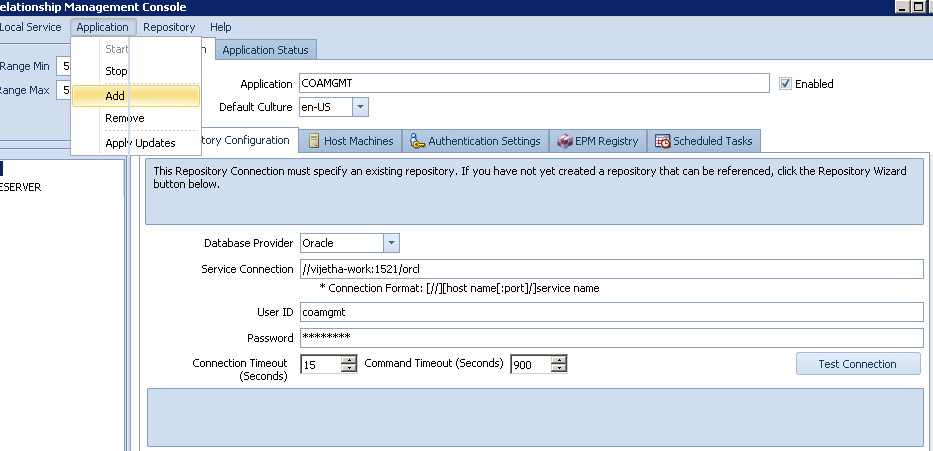
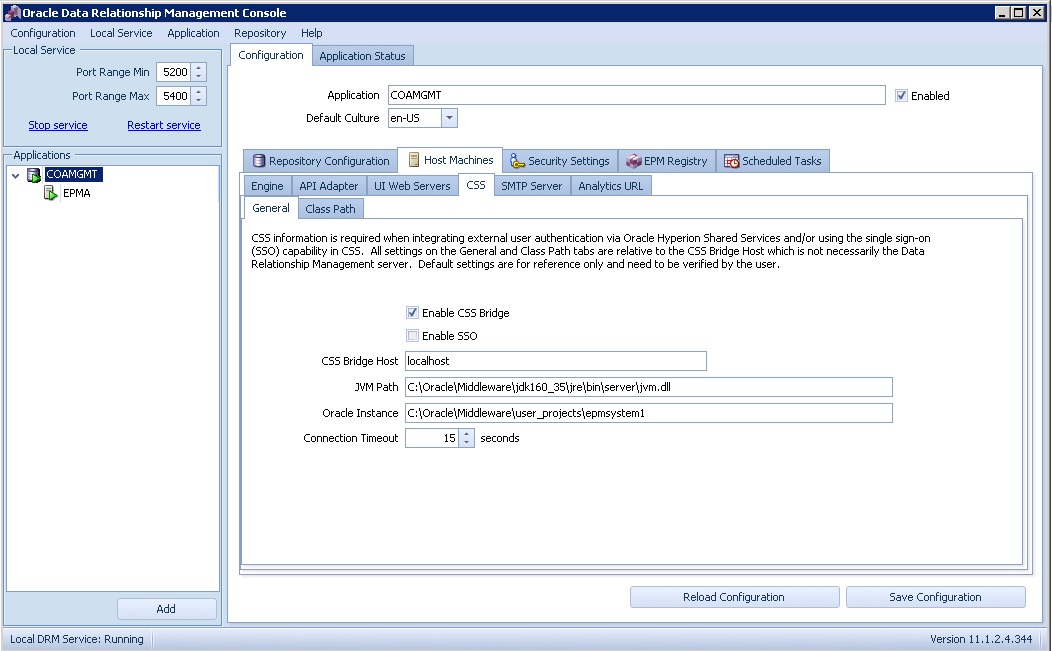
At this stage we are ready to create the application in DRM console. Fire up the DRM console, and select “Add” from the application menu. fill-in the server name and login credentials of the COAMGMT schema we have just created as shown in the image below. You can name the application as you please, but for simplicty sake I prefer to name it the same as the schema name
Once the connection is successfully tested, and application created, its time to fire up our brand new appliation. Right click on the application name on the left hand side of the console, and start the application.
EDIT –> One of my readers have written to me about an error at this particular stage, while trying to start the application. This is because the version of DRM installed being a later version than the application “dump” file was created with it. The fix for this is to do an “Apply updates” on the application. This will apply the necessary updates and will fix the application.

If all goes to plan you should be able to login to the COAMGMT applicaton using the credentials admin/Welcome!

Let us know your thoughts on this tutorial, and please feel free to contact us if you need any further assistance.
Please reach out to me via my linkedin profile.

3 Responses
[…] Make sure the account is a system account, and is not subject to password expiry rules. This same user account has to be also created in DRM, with “data creator” and “data manager” privileges. After making sure this user is setup properly, and then verified by logging into both DRM and Hyperion with the same credentials, we proceed to registering DRM with HSS. Since I am using Oracle’s demo DRM database which comes shipped with all the export profiles and user accounts, I am going to use the account EPMA for this purpose. Read here about setting up your own version of Oracle’s DRM demo application. […]
[…] have written a blog post a few years ago, detailing how to setup this sample application. However, I was using Oracle […]
[…] that application, it comes pre-configured with most of the DRM end of things. We have written a blog post earlier with instructions on how to set it up. However, you still need to do the E-business suite […]