Creating an application in Oracle Data Relationship Manager (DRM)
Hi everyone, the following is a simple tutorial in creating a new application in Oracle DRM. This tutorial is meant for beginners trying to get their hands dirty with Oracle DRM, or even seasoned Hyperion professionals trying their hand at DRM for the first time. Please feel free to contact me if you have any specific questions.
This tutorial assumes that you have an instance of Oracle DRM installed on your windows server or your desktop. Please note that DRM is currently an windows only application.
Creating a DRM application is a two-stepped process. The first step is to create a database schema for DRM relational repository, and the second step is to create the actual application itself. One should note that unlike other Oracle applications like SOA suite and ODI, DRM doesn’t require RCU ( repository creation utility) as the configuration console itself acts as one. OK, so let’s get started. Fire up the configuration console from the programs menu.
Step1 Select “repository wizard” from the menu as shown below.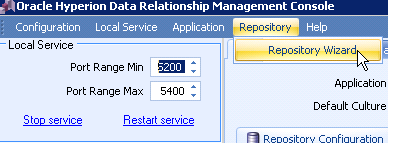
Step2 Check the “Create new repository” box and click next as below.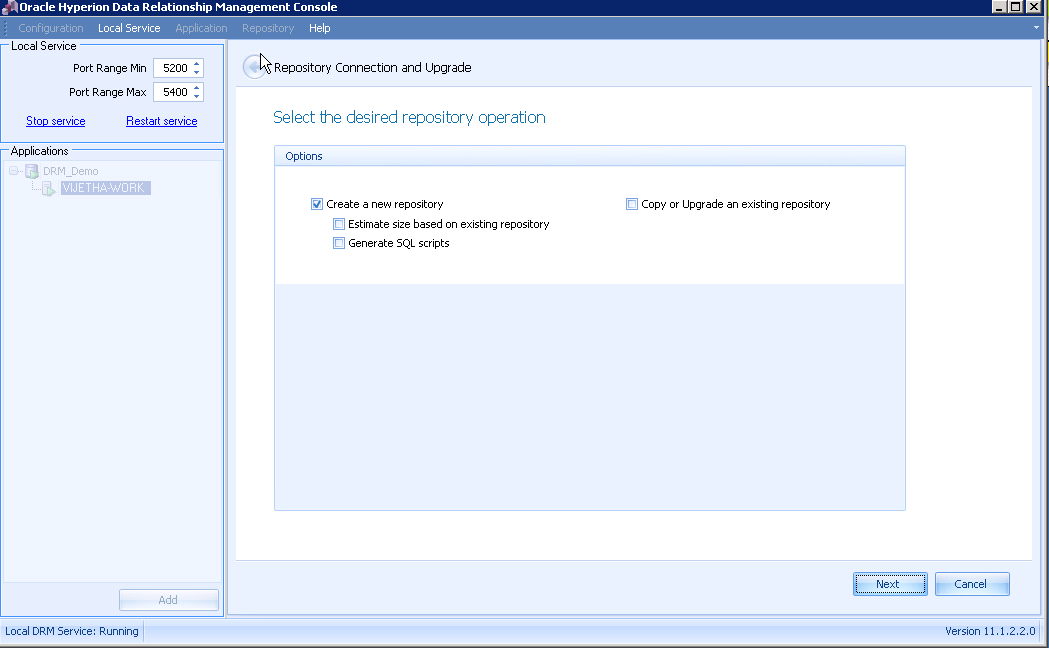
Step3 Enter the database details for the relational database being used. Note that the user account should have DBA credentials, because DRM configuration console will login to the server to create the repository for us. The example shown below uses Oracle database. After entering the details, click on “test connection” to verify settings. After successful testing, click next for next step. 
Step4 Enter the admin password for the application being created. This is the password for the administrator of the DRM application.
Step5 This is where we enter the database details for the repository. Unless you have any specific name in mind, you leave the defaults. Enter the password you would like for database being created. This will be stored in the configuration console, and generally, we should not attempt to connect to this database directly.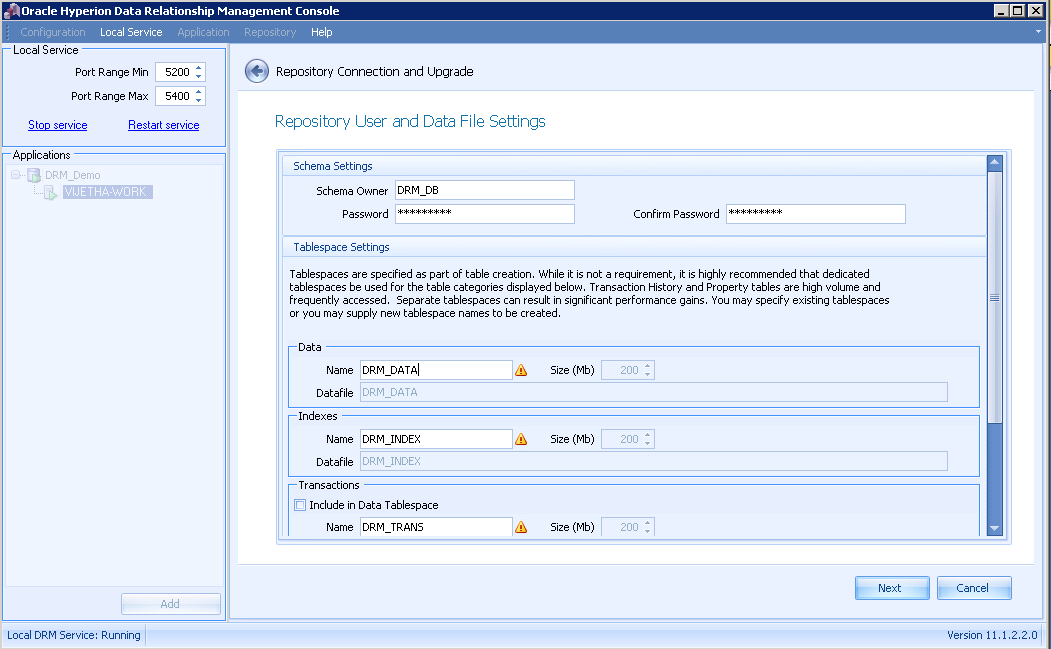
Step6 Confirm that everything is in order.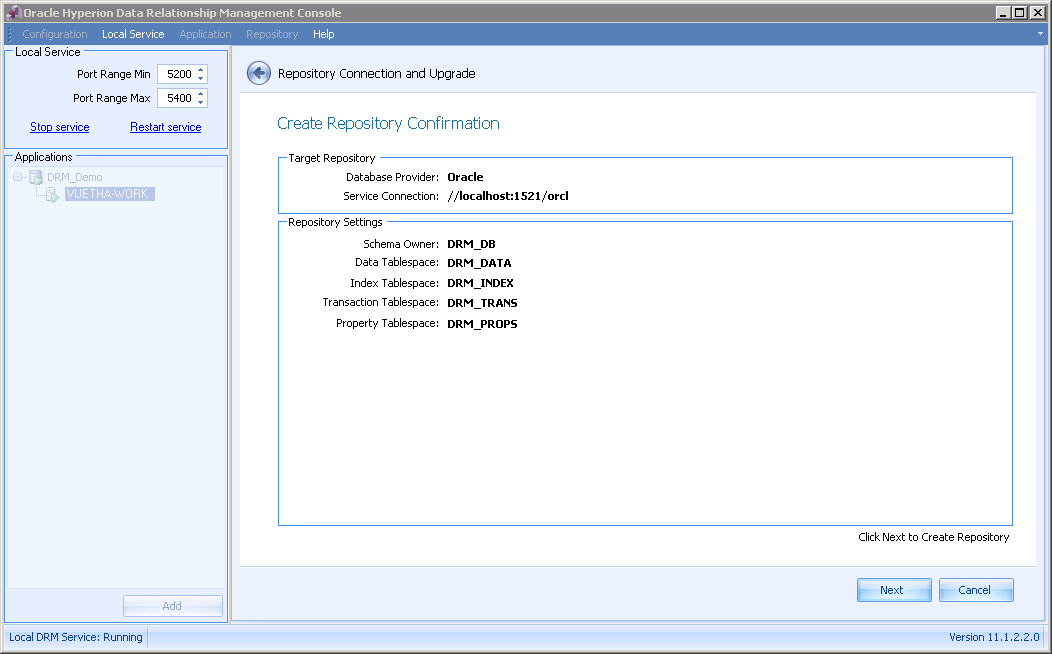
Step7 shows progress in creating repository. 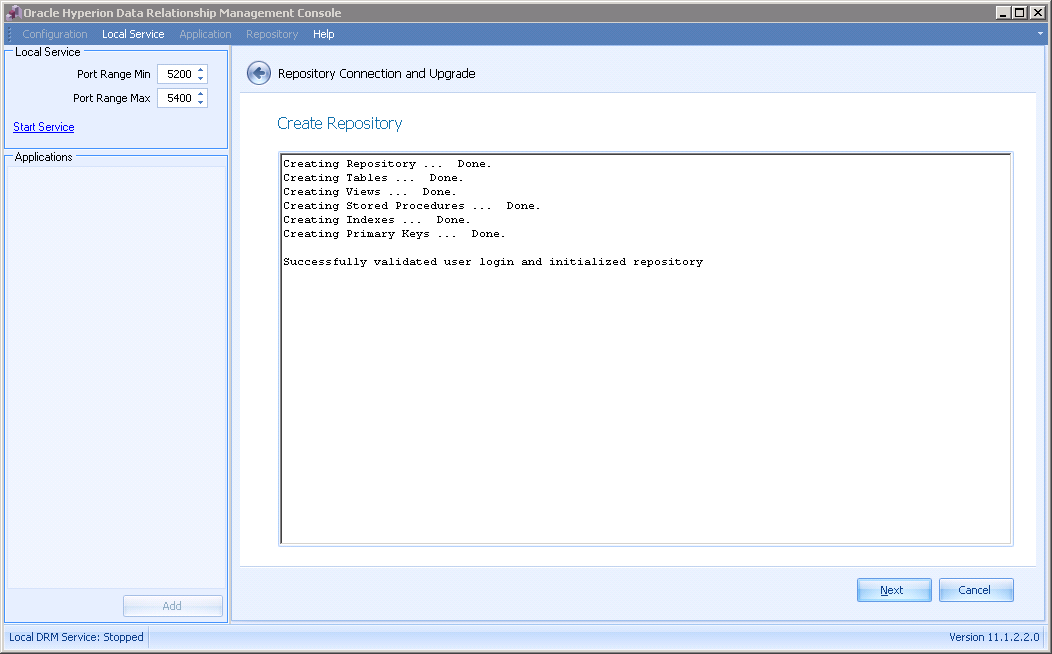
Step8 Click finish to complete creating the repository. This completes the first step in creating the DRM application 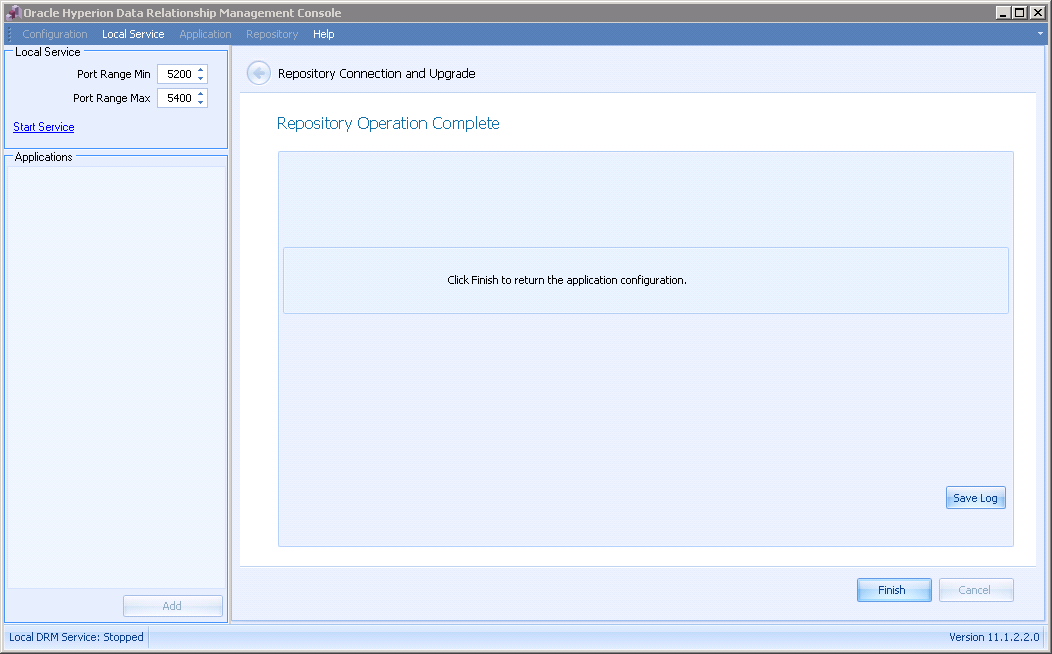
Step9 Now let’s move on to creating the application. This application will use the repository we just created. Click on Add from the Application menu. 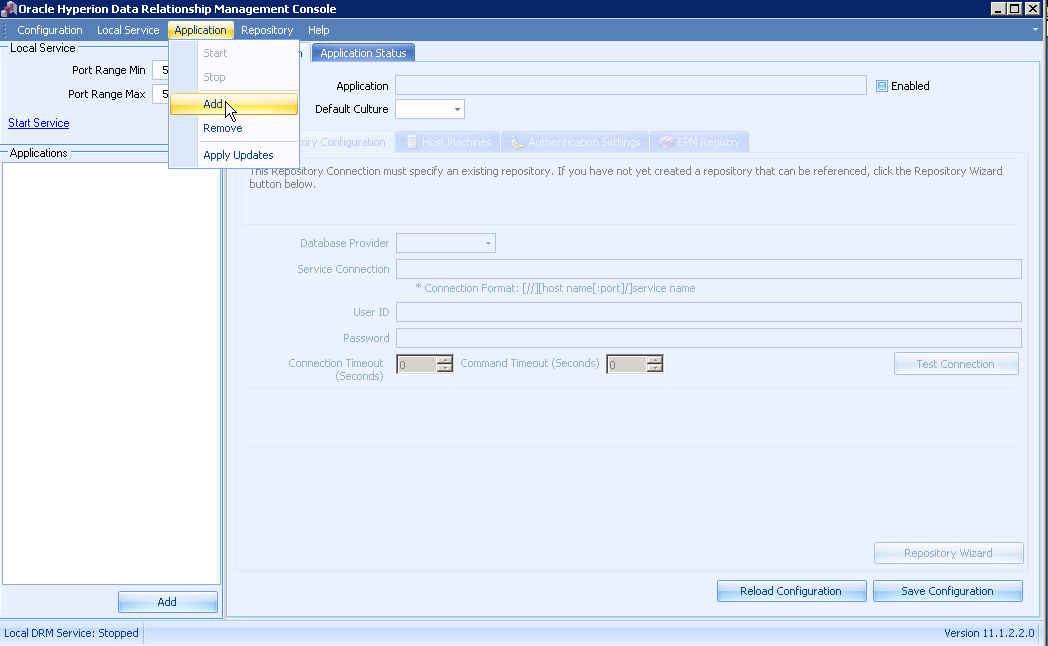
Step10 Give an appropriate name to the application to be created. Then enter the connection details of the repository we just created. Click on test connection before saving the settings
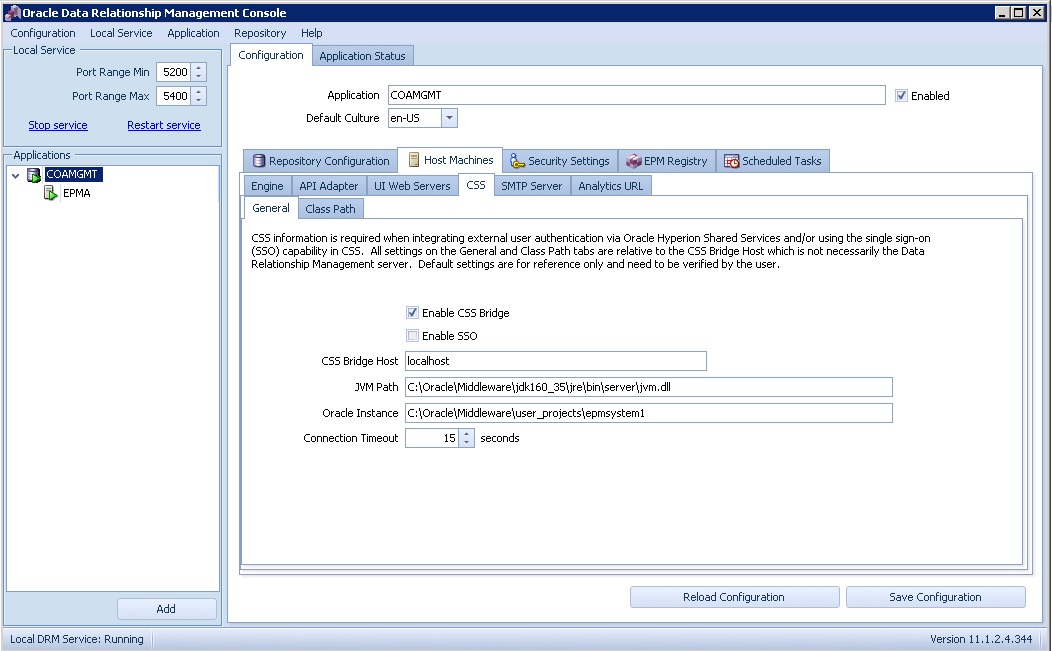
Step11 After successful craetion of the application, it should appear on the left hand side navigation panel under the server name. Click on start service if its not already started. 
This concludes the creation of the DRM application.
– See more at: https://trendingthoughts.com/blog/2014/07/02/creating-an-application-in-oracle-data-relationship-manager-drm#sthash.ND49JAE2.dpuf

Recent Comments